What Does The Bible Say About Artists?
The Bible does not say anything specific about artists. However, it is generally agreed that artists are special because they are able to create things that are not possible with other forms of communication. The Bible does not seem to have a lot to say about artists. In fact, some authors believe that the Bible does not even have a positive opinion of art. However, there are a few verses that could be interpreted in a positive light for artists. For example, in 1 Chronicles 28:19-20, God calls out artist David as being “like an oracle” and praises his beauty. Additionally, in Psalm 139:7-11, the Lord speaks highly of artists as being “he who makes things new.
looking for Animated Jack-O'-Lantern : 19 Steps (with Pictures) - Instructables you’ve visit to the right page. We have 9 Pictures about Animated Jack-O'-Lantern : 19 Steps (with Pictures) - Instructables like DIY Scary Animated Halloween Props - My Haunt '08 - #60 - YouTube, Halloween- DIY moving skeleton! (With instructions): | Animated and also 15+ Cool Christmas Gifs To Get You In The Holiday Spirit - The Xerxes. Here it is:
Animated Jack-O'-Lantern : 19 Steps (with Pictures) - Instructables

Source: instructables.com
.
How Do You Blend In Sketchbook?
There are a few ways to blend in sketches in a sketchbook. One way is to use the blending tool, which is located at the bottom of the tool palette. Another way is to use the eraser and pencils to erase any lines that you don’t want to appear in the final artwork. There is no one answer to blending in a Sketchbook, as it depends on the person. However, some tips on how to blend in a Sketchbook can help you achieve an even and blended appearance.
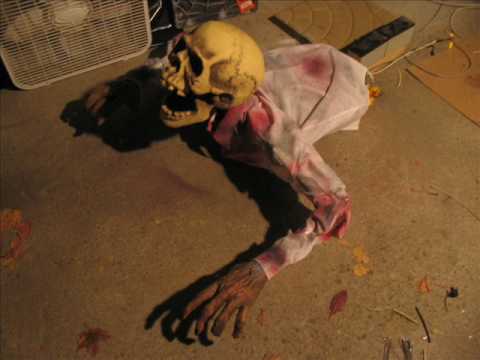
Halloween- DIY Moving Skeleton! (With Instructions): | Animated

Source: pinterest.com
halloween diy skeleton props projects animated instructions decorations skeletons visit outdoor.
Conclusion: The benefits of flower coloring Flower coloring has been shown to have numerous benefits. It can help reduce stress, promote relaxation, and boost creativity. It can also improve cognitive function and increase focus. Overall, flower coloring is a great activity that can offer many benefits.
15+ Cool Christmas Gifs To Get You In The Holiday Spirit - The Xerxes

Source: thexerxes.com
christmas gifs cool holiday spirit prev.
In conclusion,here are five cool ideas to draw: a cityscape, a portrait, a landscape, a still life, and a figure. So get out your pencils and paper and start drawing!
DIY Scary Animated Halloween Props - My Haunt '08 - #60 - YouTube
Source: youtube.com
halloween props diy scary animated homemade animatronic animatronics decorations haunted creepy haunt spooky.
How Do You Color Beautifully With Colored Pencils?
There are a few different ways to color with colored pencils. One way is to use a light green or light blue pencil to create a light color. Another way is to use a dark green or black pencil to create a dark color. There are many ways to color Beautifully with Colored Pencils! Here are a few tips:
- Use a light pencil to color over the darker areas of your skin. This will help to brighten up your complexion and add dimension.
- Add Highlights and Shadows using different colors, depending on your desired effect.
- Experiment with different types of pencils and bristles to see which one works best for you.
- Be sure to keep the Sharpener close by so you can continue coloring easily!
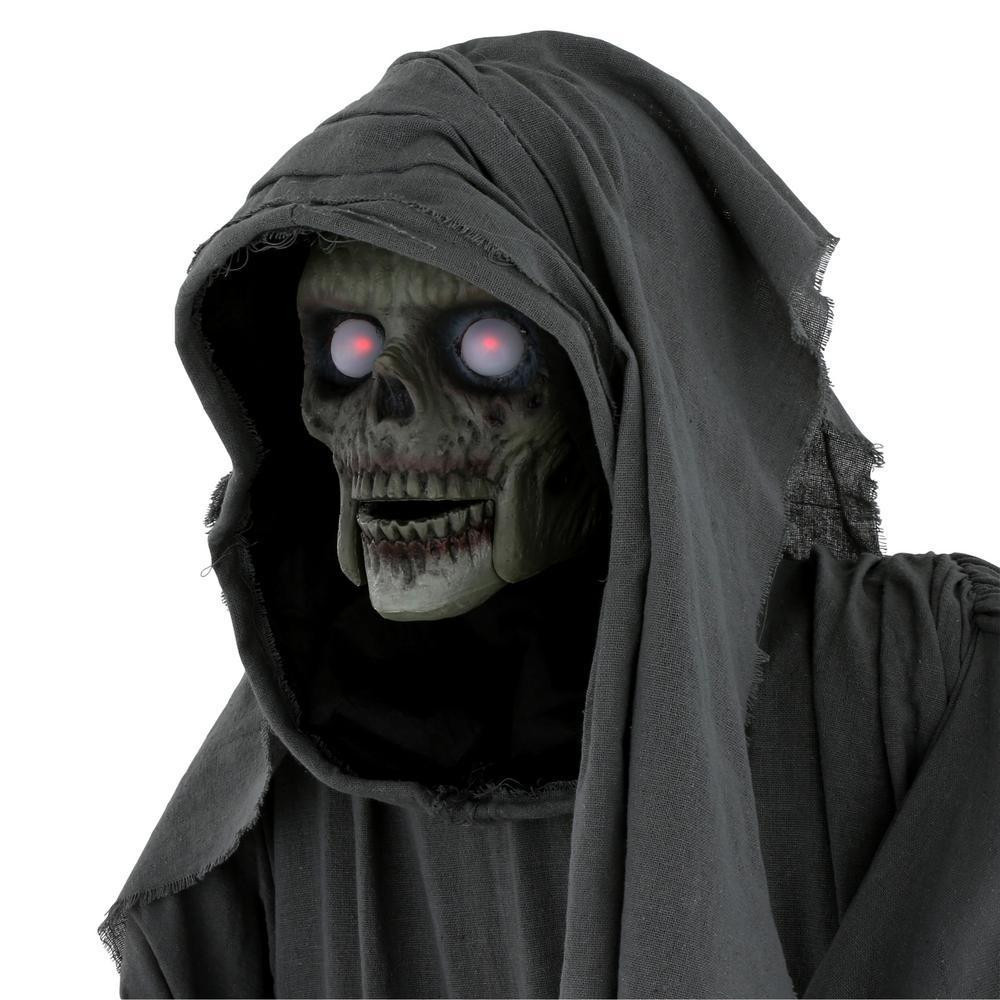
Tis Your Season | 72 In. Animated Warrior Grim Reaper With Sword
Source: tisyourseason.com
reaper grim sword animated warrior.
Step 3: applying the colors Applying the colors is the third and final step in coloring flowers. This is where you will use your chosen colors to add detail and depth to your flowers. To start, you will need two colors of lightfast ink, a small brush, and a piece of watercolor paper. Begin by mixing a small amount of each color on a palette or plate. Pick up some of the lighter color with your brush and paint it onto the paper. Then, using a slightly dampened brush, pick up some of the darker color and paint it over the top of the lighter color. Work in small sections and build up the colors slowly.
Once you have applied the colors, allow them to dry completely before moving on to the next step. When done properly, this technique will result in beautiful, vibrant flowers that have depth and dimension.
Christmas GIFs ⋆ Cards, Pictures. ᐉ Holidays

Source: greetings-day.com
christmas animated gifs greetings merry happy xmas wishes messages cards holidays greeting holiday.
Composition: planning your drawing When it comes to drawing, the planning phase is key to ensuring a successful composition. This is where you decide on the overall look and feel of your drawing, as well as the specific elements that you want to include. Here are a few tips to help you plan your drawing:
Decide on the purpose of your drawing. What are you trying to communicate? This will help you determine the overall tone and approach.
Sketch out a rough idea of what you want your drawing to look like. This doesn’t have to be perfect, but it will give you a starting point.
Choose your colors carefully. Consider both the visual impact and the meaning of each color you use.
Pay attention to detail. The small details can make or break a drawing, so don’t overlook them!
Mechanical: Spider Hill's Swaying Zombie (Smiley)

Source: halloweenforum.com
zombie halloween props diy prop swaying pvc animated pipe spider moving stuff wiper motor smiley projects spooky outdoor decorations animatronics.
How to get started drawing In order to start drawing, one does not need any special tools or materials. All that is needed is a pen and a piece of paper. With just these two things, anyone can start drawing pictures. The first step is to come up with an idea of what to draw. This can be anything from a simple shape to a complex scene. Once an idea has been decided upon, the next step is to begin sketching it out on the paper. This doesn’t have to be perfect, as the goal at this stage is simply to get the basic outline down.
Once the sketch is complete, it’s time to start filling in the details. This is where things like shading and perspective come into play. By taking the time to add these elements, the final product will be much more visually appealing.
Halloween Ghost Scary Animated Gifs - Best Animations

Source: bestanimations.com
halloween animated scary happy gifs ghost funny animations zombie kitten mood moon waking grave.
In order to draw, one must have a pencil, paper, and eraser. To begin, one must sketch lightly so that mistakes can be easily erased. Next, lines should be added to the sketch until the drawing is complete. Finally, shading can be added to give the drawing dimension and realism.
New Year Dream Screensaver For Windows - Free New Year Holiday Screensaver

Source: fullscreensavers.com
screensaver dream windows holiday screenshot play.
How Do You Edit In Sketchbook?
There are a few ways to edit in a Sketchbook. One way is to use the tools in the Sketchbook toolbar. Another way is to use the Edit menu in the Sketchbook toolbar. How do you edit in Sketchbook? Is there a way to change the color of elements, or adjust text size, or add effects? There are probably many ways to do things in Sketchbook, but it’s best to start with the basics and learn how to work with layers, shapes and selections.
